To ensure the best possible master please submit all tracks with the following criteria:
1) Make sure the Kick is the focal point of the mix. But ensure the rest of the mix parts are still present.
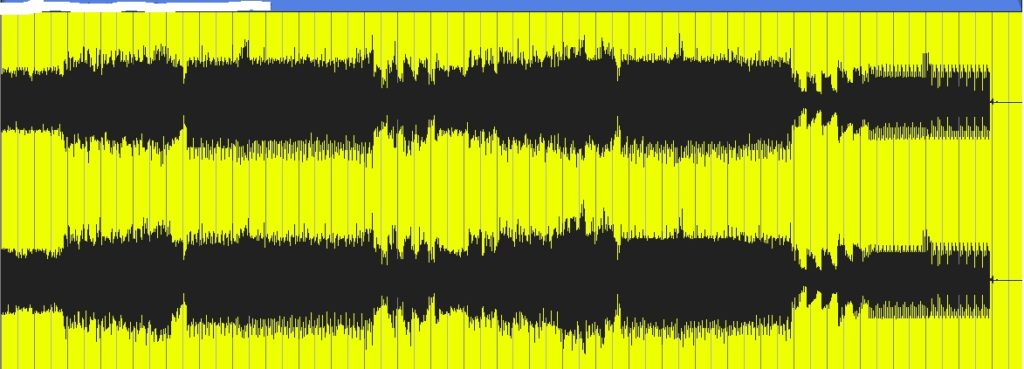
2) No normalizing or using any kind of compression or limiting to get things loud. The waveform should not look square with the peaks cut off.
3) Leave around -6.0 db of headroom (More headroom means louder we can push the master without dynamic loss).
4) All files should be 24bit (minimum) or greater (32bit/32bit float/64 bit) [Preferred 32bit float]
5) All files should be 48khz sample rate or greater (I recommend 48khz) WAV.
6) Watch your low end. Make sure the mix is not too bass heavy. If you are unsure send a couple of versions. (I.e. Bass down 1db and Bass down 2db etc…)
7) No dithering at any point during creation to mix down
8) DO NOT zip the file. You lose quality through ZIP/RAR compression. If sending multiple tracks send each as a separate file. DO NOT USE WETRANSFER TO SEND MULTIPLE FILES THEY AUTO ZIP THE FILES BEFORE SENDING.
9) Clearly mark the song title and the versions (i.e. Artist Name – Song Name (Original Mix)_mix01, Artist Name – Song Name (Original Mix)_mix02, etc…)
10) Send the final .wav submission via a service like (Google Drive, Dropbox, Sendspace) to shiftaxismastering@gmail.com (Use shiftaxisrecords@gmail.com if you are a SAX signed artist)
Do not use a limiter to get your mix to sit at the -3db to -6db headroom range. There are multiple ways you can achieve this without using a limiter or normalizing of any kind.
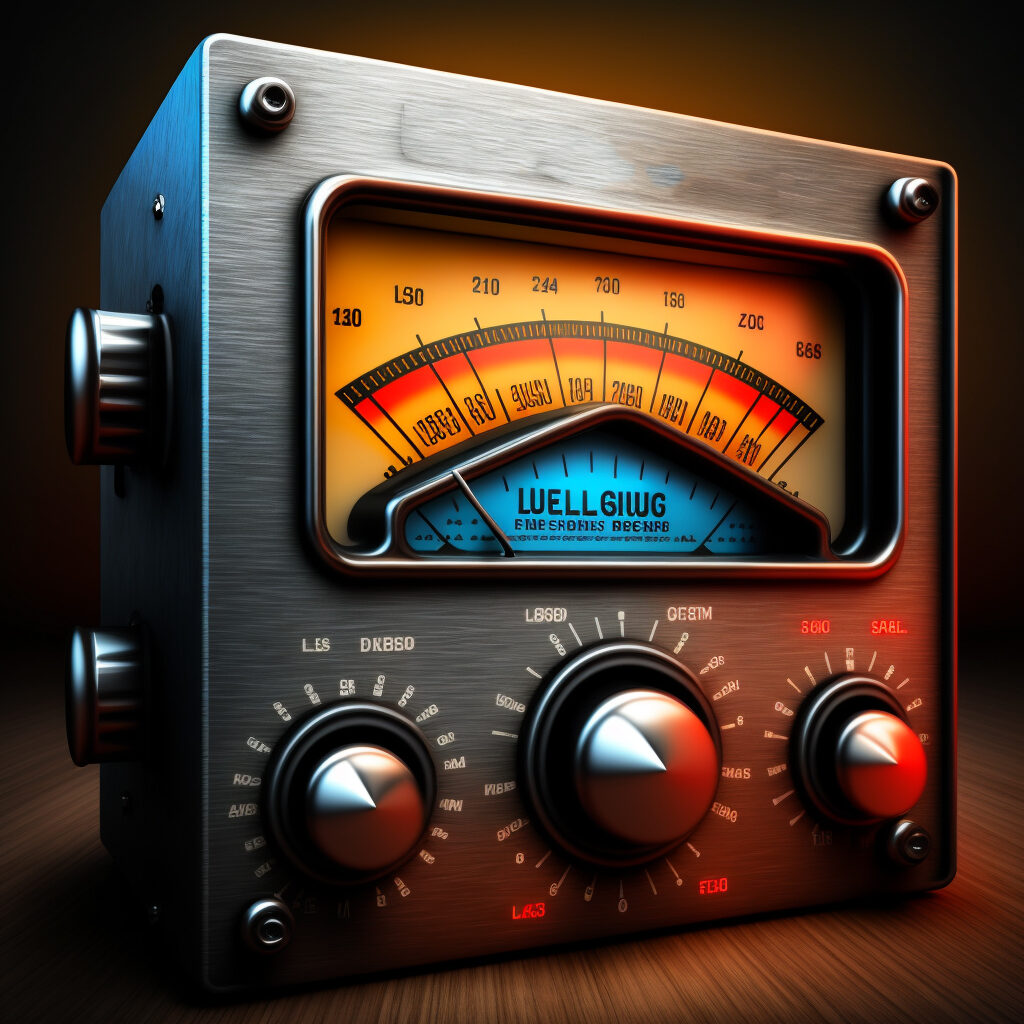
First, add some form of metering suite on the final effect chain of your master output channel.
Then playback the whole track from start to finish and watch the volume meter on the metering suite (you put on the master output channel earlier)
Make sure to watch for the peak of the track (the highest/loudest point of the track)
Loop that part so you can then follow the steps of one of the methods below
Method 1: Highlight All and Volume Adjust Method
If you have a DAW that allows for this (Ableton Live, Logic Pro, FL Studio and a few others do. You can highlight all your tracks at once time. Then drag the volume of your kick track down (While all tracks are still highlighted). All the highlighted tracks volumes will then adjust down in correlation to the volume adjustment of the kick track. Make sure to watch some form of metering on the master output channel to guarantee that the highest level peak of the track is no louder than -3 db and no softer than -6db.
Method 2: Routing Sub Mix Channel Method
Route all of your tracks to a sub-mix channel called “Pre-Master Output”. Make sure this track is routed to the master out. Then adjust the volume of the “Pre-Master Output” sub-mix channel until the “Master Output” channel meter reads a peak of somewhere between -3db and -6db.
Method 3: Render Then Adjust To a New or 3rd Party Program
Make sure the whole song doesn’t clip above the 0db anywhere in the mix either on an individual track or on the master out (DO NOT USE a limiter to ensure this adjust the volume levels)
Then render/bounce the track down at the highest possible sample rate/bit depth (I like to render at 32bit-float /48khz sample rate). Close your project and open the newly rendered track into a 3rd party application or a new project. Add a metering suite on the master and then adjust the volume of the track containing the newly rendered track down until the “Peak” is no louder than -3db and no softer than -6db.