Have you ever been asked by a mastering engineer to provide a pre-master mix with a headroom of -6.0dB? Have you ever wondered how you were able to provide this to them? What is needed to determine this? First you have to understand how to find the maximum peak (max peak) of you mix, then you will be able to turn the audio signal down to reach this range (-6.0dB).
Simply put, headroom is the distance between the loudest point in the song (max peak) and 0.0dB. Once the audio goes above 0.0dB the transient peaks begin get cutoff (the audio will clip/distort/redline). When the transient peaks clip/redline they become truncated (cutoff), causing them to lose dynamic punch. Having this headroom will allow the mastering to engineer enough space (breathing room) to push (limit) the mix so that the softer parts of the mix can be boosted along with the louder parts without much dynamic loss. Having the proper headroom in your mix will leave your mix sounding more dynamic, even when loud.
It’s important to note that you will always have some dynamic loss the louder you push the master limiter. By having sufficient headroom throughout your entire mix, you can minimize this loss.
Introduction
In today’s market it seems that there is a large number of people that don’t understand what Max Peak is. Simply put it is the loudest part or point in your mix. Why is measuring for the max peak in your mix so important? It is commonly used as the point at which a mastering engineer will master the entire song around. By doing this, the mastering engineer can guarantee that the loudness of the track will not distort, saturate, redline or clip the audio signal in any way.
How To Find Max Peak
There are several very simple ways to determine Max Peak. Most involve using an audio meter or meter plugin that that reads the sample peak, or true peak of an audio source.
In the analog world, “the highest point the analog signal reaches is called the True Peak while in the digital world, the highest digital sample is called the Sample Peak. Since a digital signal has to be converted to an analog signal to be heard (speakers, monitors, sound system, car stereo, etc…), the True Peak is a much more sensible metric for determining the Peak level of a waveform”. (source)
Therefore, for this tutorial we are going to focus on using True Peak to determine the Max Peak of a mix.
Peak
A Peak meter is a type of measuring instrument that indicates visually the instantaneous level of an audio signal that is passing through it (a sound level meter). In sound reproduction, the meter, whether Peak or not, is usually meant to correspond to the perceived loudness of a particular signal. The term Peak is used to denote the meter’s ability, regardless of the type of visual display, to indicate the highest output level at any instant.
True Peak (Inter-sample peaks)
True Peak is defined as “a peak level measurement which takes into account inter-sample peaks”. Digital audio exists on your hard drive as a representation of a sound, but when you play that audio, what you are hearing is an analog reconstruction of that sound. Depending on the signal chain, codecs and so on, the analog reconstruction may well peak beyond the digital waveform. These types of peaks are called inter-sample peaks. In extreme cases, these inter-sample peaks can Peak up to 6dB higher. (source)
Try not to get confused by all these definitions. Just know that what you are trying to meter is the maximum (“Max”) loudness (“Peak”) of you mix or audio source using a meter that measures True Peak.
Metering Plugins
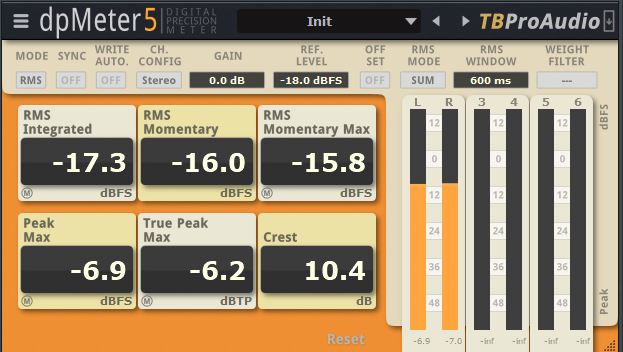
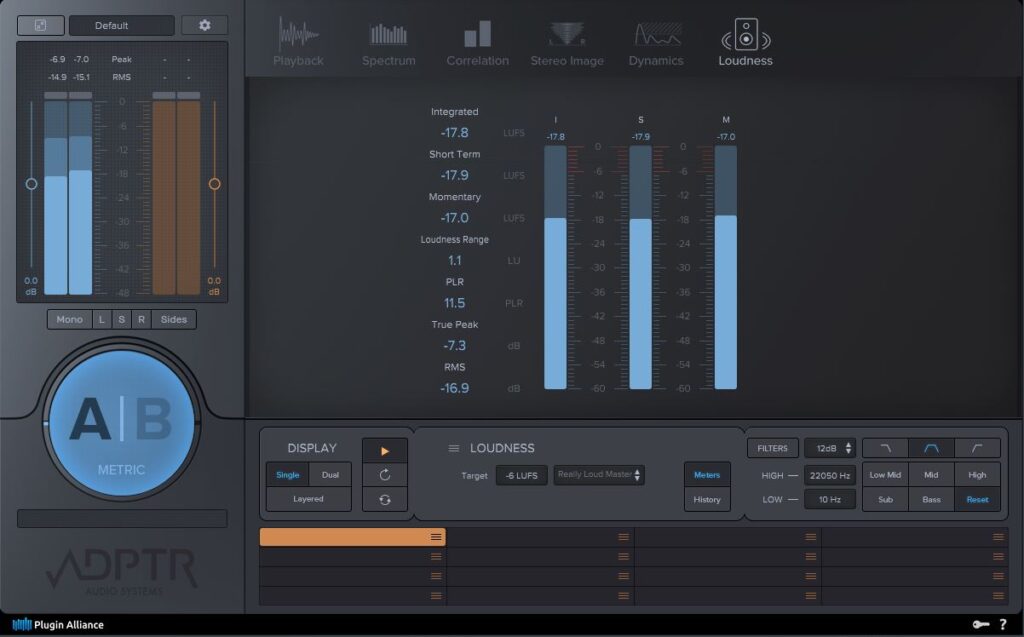
There are many paid and free plugins that will allow the engineer to read the True Peak of their mix. In some cases, the meter will even measure the Max True Peak. I tend to use several, to guarantee accuracy of measurement. Over time you will find meters that you can trust, and you will go back to them over and over. For this example, the best free meter that not only gives you True Peak but also Max True Peak is TBProAudio dpMeter5.
Which Plugins Do I Use
Obvious any peak meter will do, and most DAWs come equipped with free Peak meters, some are starting to add True Peak meters as well, so there generally isn’t much need to go buy a seperate plugin. However, if you DAW’s meter doesn’t read True Peak, it’s best that you get a third-party plugin that does.
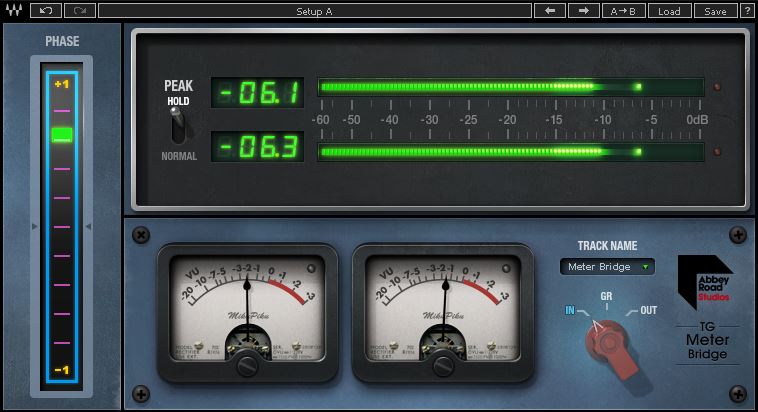
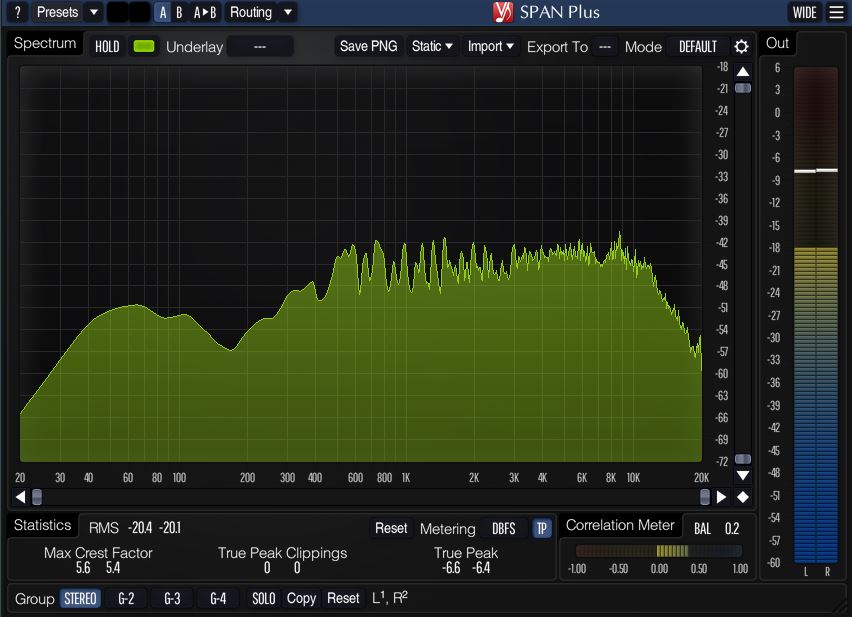
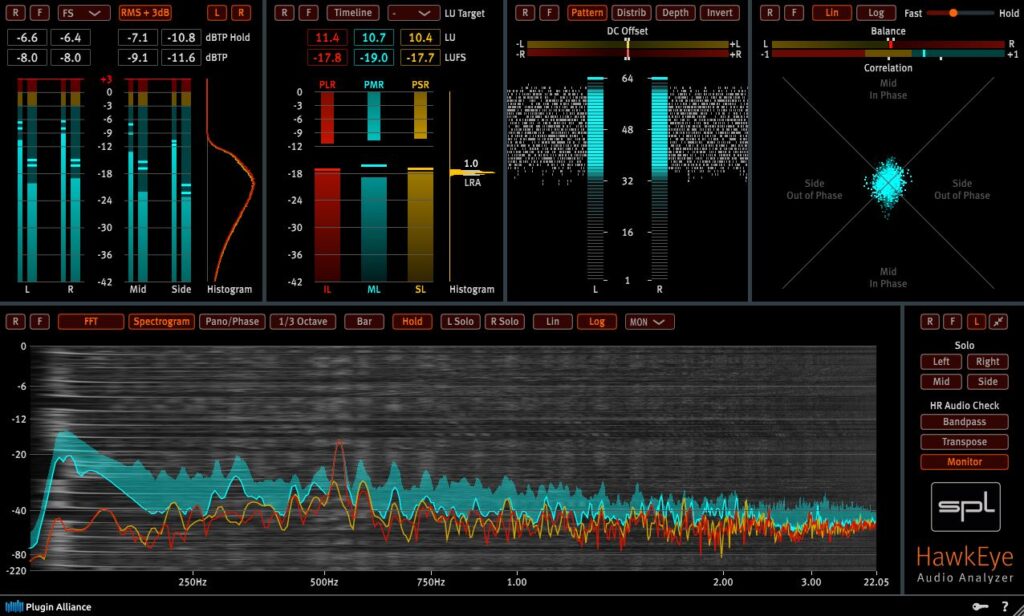
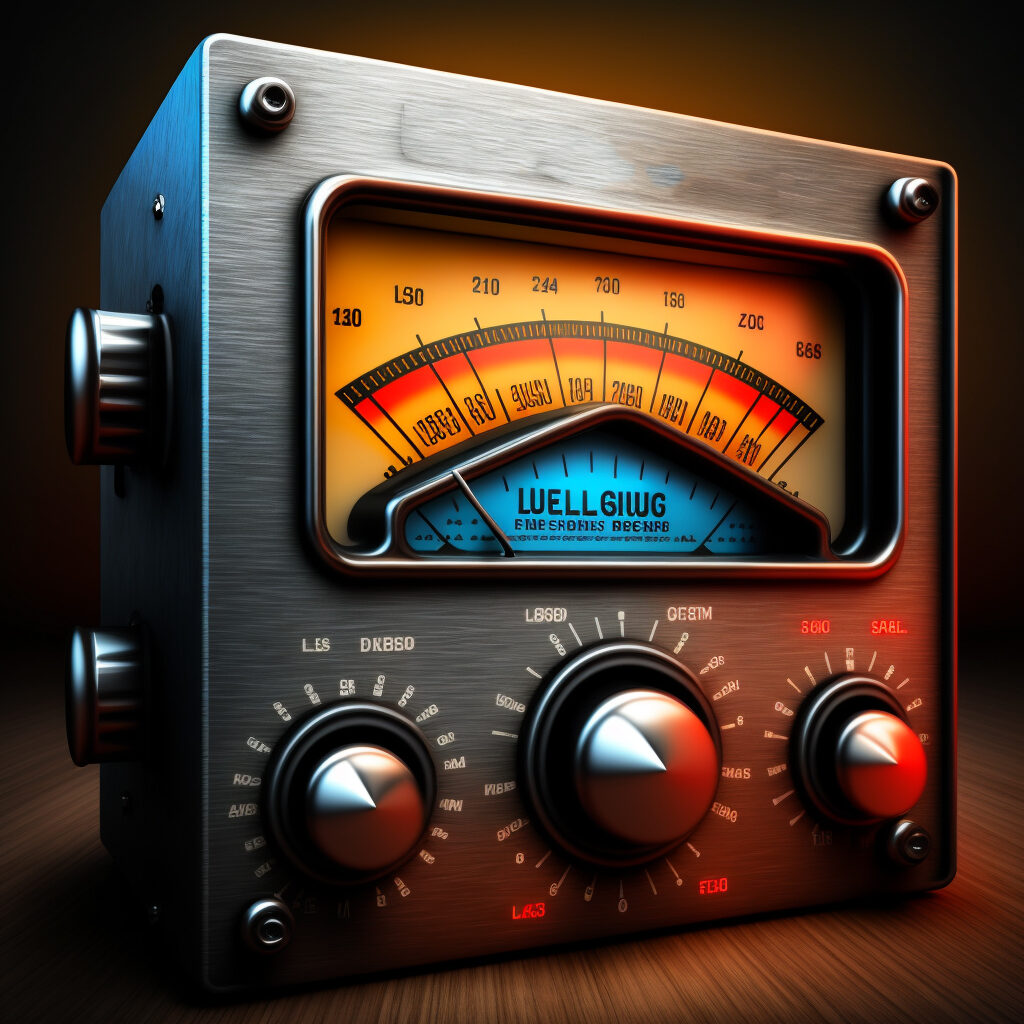
A few examples of what I typically use to meter Sample Peak and True Peak values of an audio source. Whichever plug you decide to use for this, just make sure it displays True Peak.
<Click the images to download or buy the plugin>
My Plugin Recommendations
Like I said above any will work. But for new producers or engineers I would suggest downloading Voxengo Span or TBProAudio dpMeter5. Both are very accurate, free download, free updates and they both measure a wide range of signals, including Peak, True Peak, LUFS and RMS.
How To Find Max Peak
The best way to do this is play your sound source (in this case a pre-master mix) from beginning to end. Make sure to have your metering plugins open to monitor the song. In specific, pay special attention to the True Peak meter. If your plugin has a True Peak Max (like TBProAudio dpMeter5) this is ideal, as it allows you to more easily define the Max Peak. Once you listened to the entire audio source from beginning to end. You should have been able to identify where, in the source audio, the loudest point was located. This is called the Max Peak.
Application for Mixing
Let’s say I am a mixing engineer, finalizing a track before I submit to my mastering engineer. The mastering engineer has asked me to give them a pre-master mix that has a headroom of -6.0dB. After reviewing the entire mix using my True Peak metering plugin. I determine that the Max Peak of my mix is -2.5dB. This means to meet the mastering engineers’ requirements; I will need to reduce the Max Peak of the entire mix by 3.5dB.
Special note here, this doesn’t mean reduce that one point in the mix. What it means is to reduce the entire mix, keeping the relative mix volume so that the Max Peak of the entire mix is as close to-6.0dB. as you can get.
How To Adjust the Volume
Now what I can do is, loop the track at the Max Peak, maybe one bar or so, so you can monitor the meters to bring the audio volume down to -6.0dB. With that loopback playing, bring the overall output volume of the entire mix down until the master output meter True Peak shows the Max True Peak reading -6.0dB, or a close as possible.
Keep in mind the reason I say, as close to -6db as possible is because of dynamics. Simply put, if your mix is dynamic, which it should be (not overly compressed), then there should be a slight distance between the peaks and troughs of the transients. Having dynamics allows the audio to breathe, not making it feel squashed and lifeless. Because of the dynamics range of an audio source, the average peak loudness will vary from peak to trough (being very dynamic or having lots of range/movement not being constant). If peak stays constant, without changing, you know that you mix, or audio signal is not very dynamic, limited, or over-compressed.
Why Do Mastering Engineers Use This?
As I stated above, the Max Peak is commonly used as the point at which a mastering engineers will master the entire song. This doesn’t mean the engineer will only master the song based on this point, but it is usually where they start, and the point at which they will use to determine the loudness of the master.
It’s important to note that not all mastering engineers will request the same headroom range, so it’s best you ask them beforehand how much headroom they require. A good engineer will request some headroom, so if they do not, it’s best to find someone who does.
Hope this article helps someone out there… who is trying to better understand why it’s important to know what the Max Peak is of an audio source!


Leave a Reply